ESP8266 + DHT22 + Arduino + Web Server
So here is a modified version of how to get a DHT22 working on ESP8266 NodeMcu board using the Arduino IDE (not Lua)
The project is based on:
http://randomnerdtutorials.com/esp8266-dht11dht22-temperature-and-humidity-web-server-with-arduino-ide/


The project is based on:
http://randomnerdtutorials.com/esp8266-dht11dht22-temperature-and-humidity-web-server-with-arduino-ide/
- Get the components and assemble them. In India you can find these on VishaWorld.com
- Assemble the circuit as shown. Connect the Data pin of SHT22 to D2 of NodeMcu (which is referred to pin 4 in Arduino IDE)
- Install the driver for USB-Serial chip on your PC:
http://www.silabs.com/products/mcu/pages/usbtouartbridgevcpdrivers.aspx - Install Arduino on your computer and install support for ESP8266 Board, refer:
https://learn.sparkfun.com/tutorials/esp8266-thing-hookup-guide/installing-the-esp8266-arduino-addon - Install the DHT-sensor-library-master library as outlined here:
http://randomnerdtutorials.com/esp8266-dht11dht22-temperature-and-humidity-web-server-with-arduino-ide/ - You would need to download and place Adafruit_Sensor.h in this same library folder as well. Get that file from: https://github.com/adafruit/Adafruit_Sensor/blob/master/Adafruit_Sensor.h
Click on "Raw" to get the file. - Copy the code below, and download it into your ESP8266 NodeMcu board. Make sure to select the proper board and COM port.
To test:
- Connect your mobile to the WiFi hotspot created by ESP8266 : Temperature_Server
Password is: vishaworld.com - Make sure to turn off the 3G data connection on your phone. Andorid will report that the wifi network "Temperature_Server" does not provide internet access. Ignore the message.
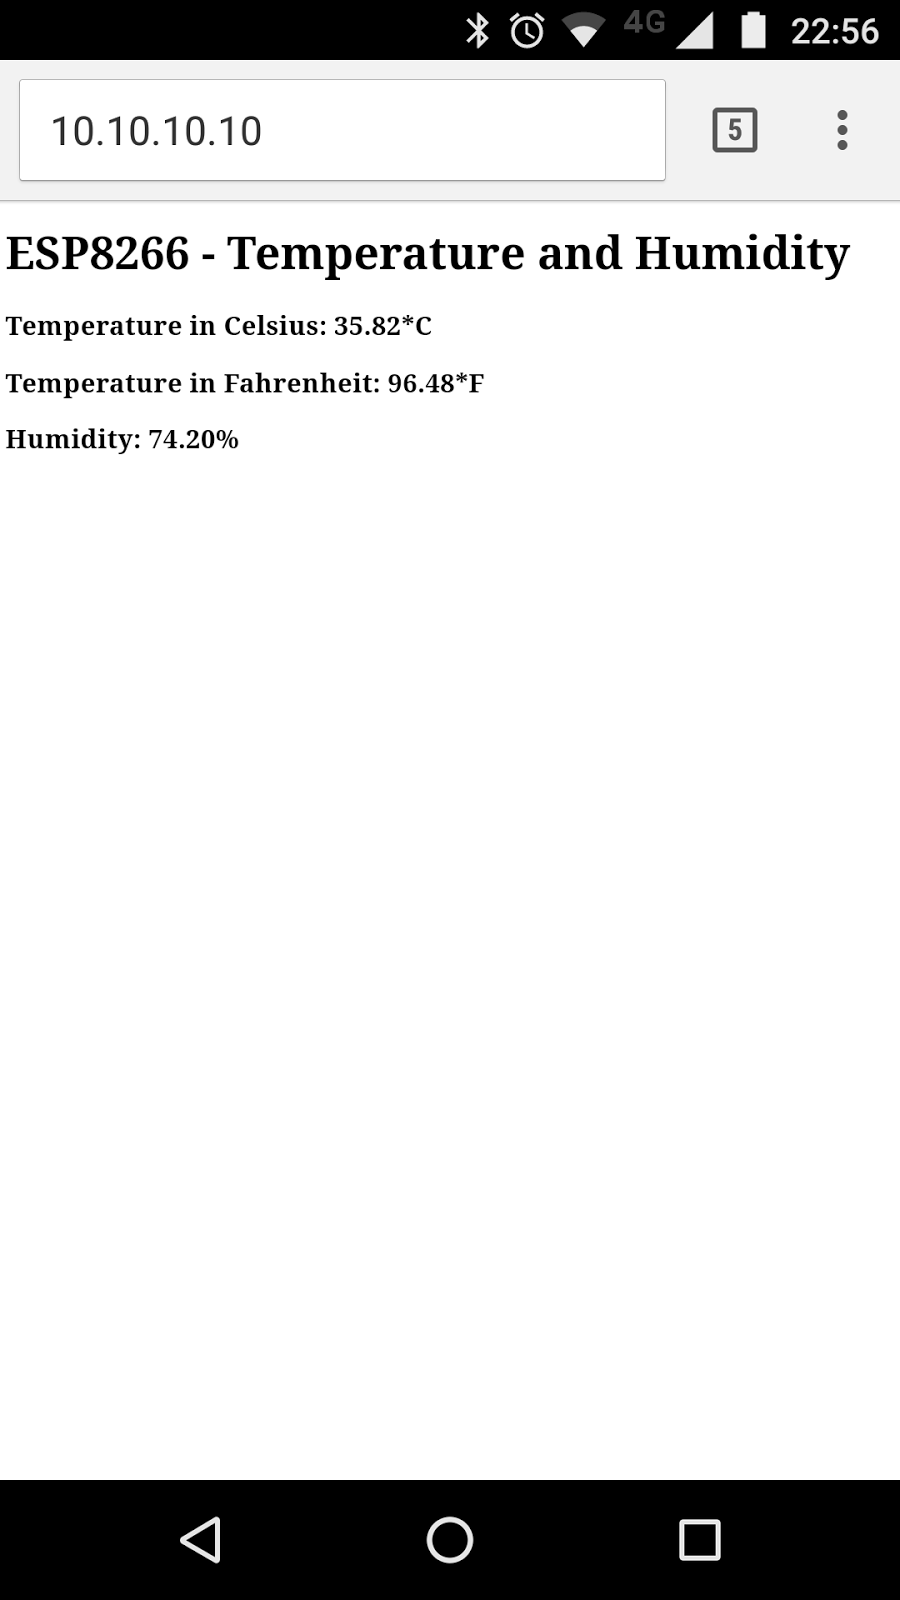
- Open chrome and punch in 10.10.10.10 in the URL field and ESP8266 will serve you with the latest reading from the temperature sensor.


Comments
Post a Comment